Controlling smart devices with Raspberry Pi + Zigate adapter
Mar 1, 2019
Smart devices I have tried and recommend
- Philips Hue Smart bulb
- OSRAM smart bulb
- OSRAM smart switch/motion sensor
- Aqara temperature and humidity sensor
- Aqara magnetic door sensor
Some background info on ZiGate, ZigBee and Domoticz (skip ahead for setup steps)
Lucky to have been gifted some really cool home automation gadgets, I have been messing around with them and attempting to transform my room into a data monitoring and collecting system.
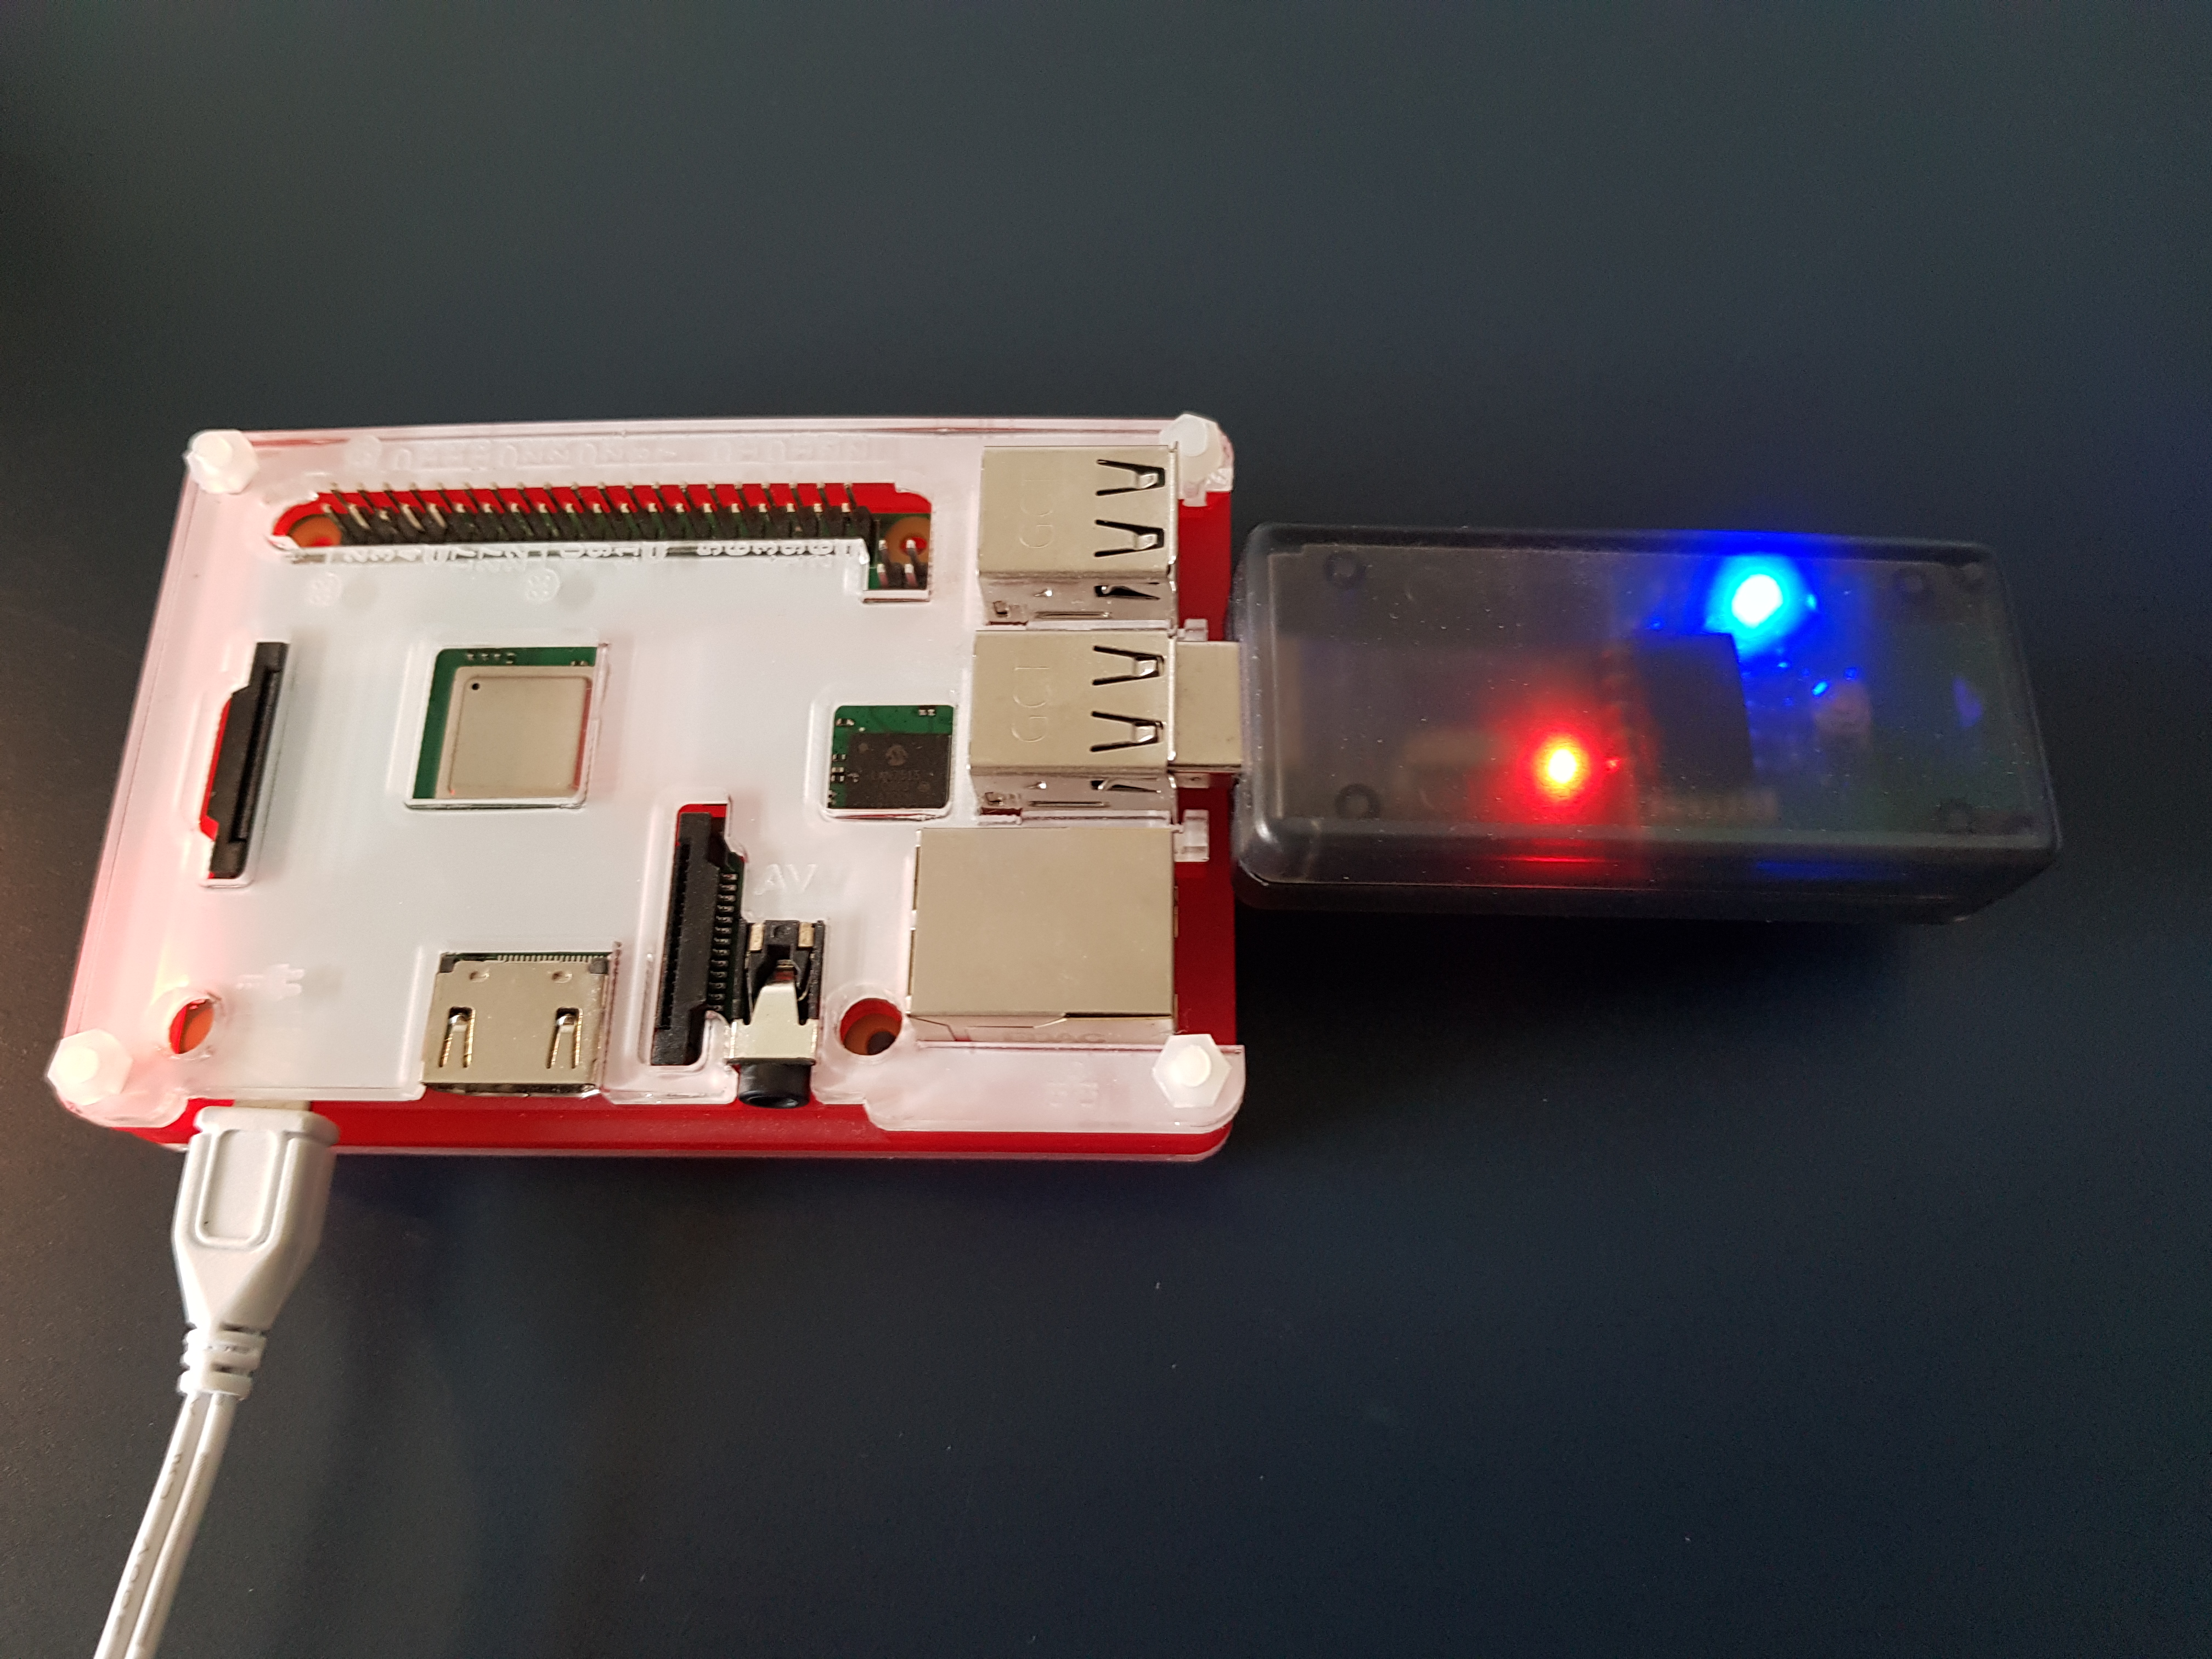
One gadget which I use daily is a ZiGate USB on my Raspberry Pi to control my smart bulbs. I find red and orange hues extremely restorative and relaxing after a long day staring at blue light emitting screens. Having gotten it for free and being completely ignorant of smart transmitters/adapters I didn’t think much of this dongle at the time. Now after doing some research I am realising what a nifty and underrated piece of kit it is.

ZiGate is the result of a French Kickstarter project:
ZiGate – universal Zigbee gateway for smarthome
It is unique in that it is an open source ZigBee adapter hardware allowing my RPi to communicate over a wifi network to multiple smart devices. Like Bluetooth and wifi, ZigBee is a wireless technology network protocol allowing data transmission between devices.
ZigBee differs though in the mesh routing technique it uses to link your smart devices. ZigBee spans throughout your home linking your sensors and devices to the network in a mesh routing topology, with the potential to accommodate up to 65,000 device connections in total!
ZigBee’s much lower bandwidth at 250kb/s is adapted for slower information transfer over a smaller range (10–30 metres) compared to wifi’s bursty 54mb/s, and thus is perfectly adapted for enabling communication between IoT appliances.

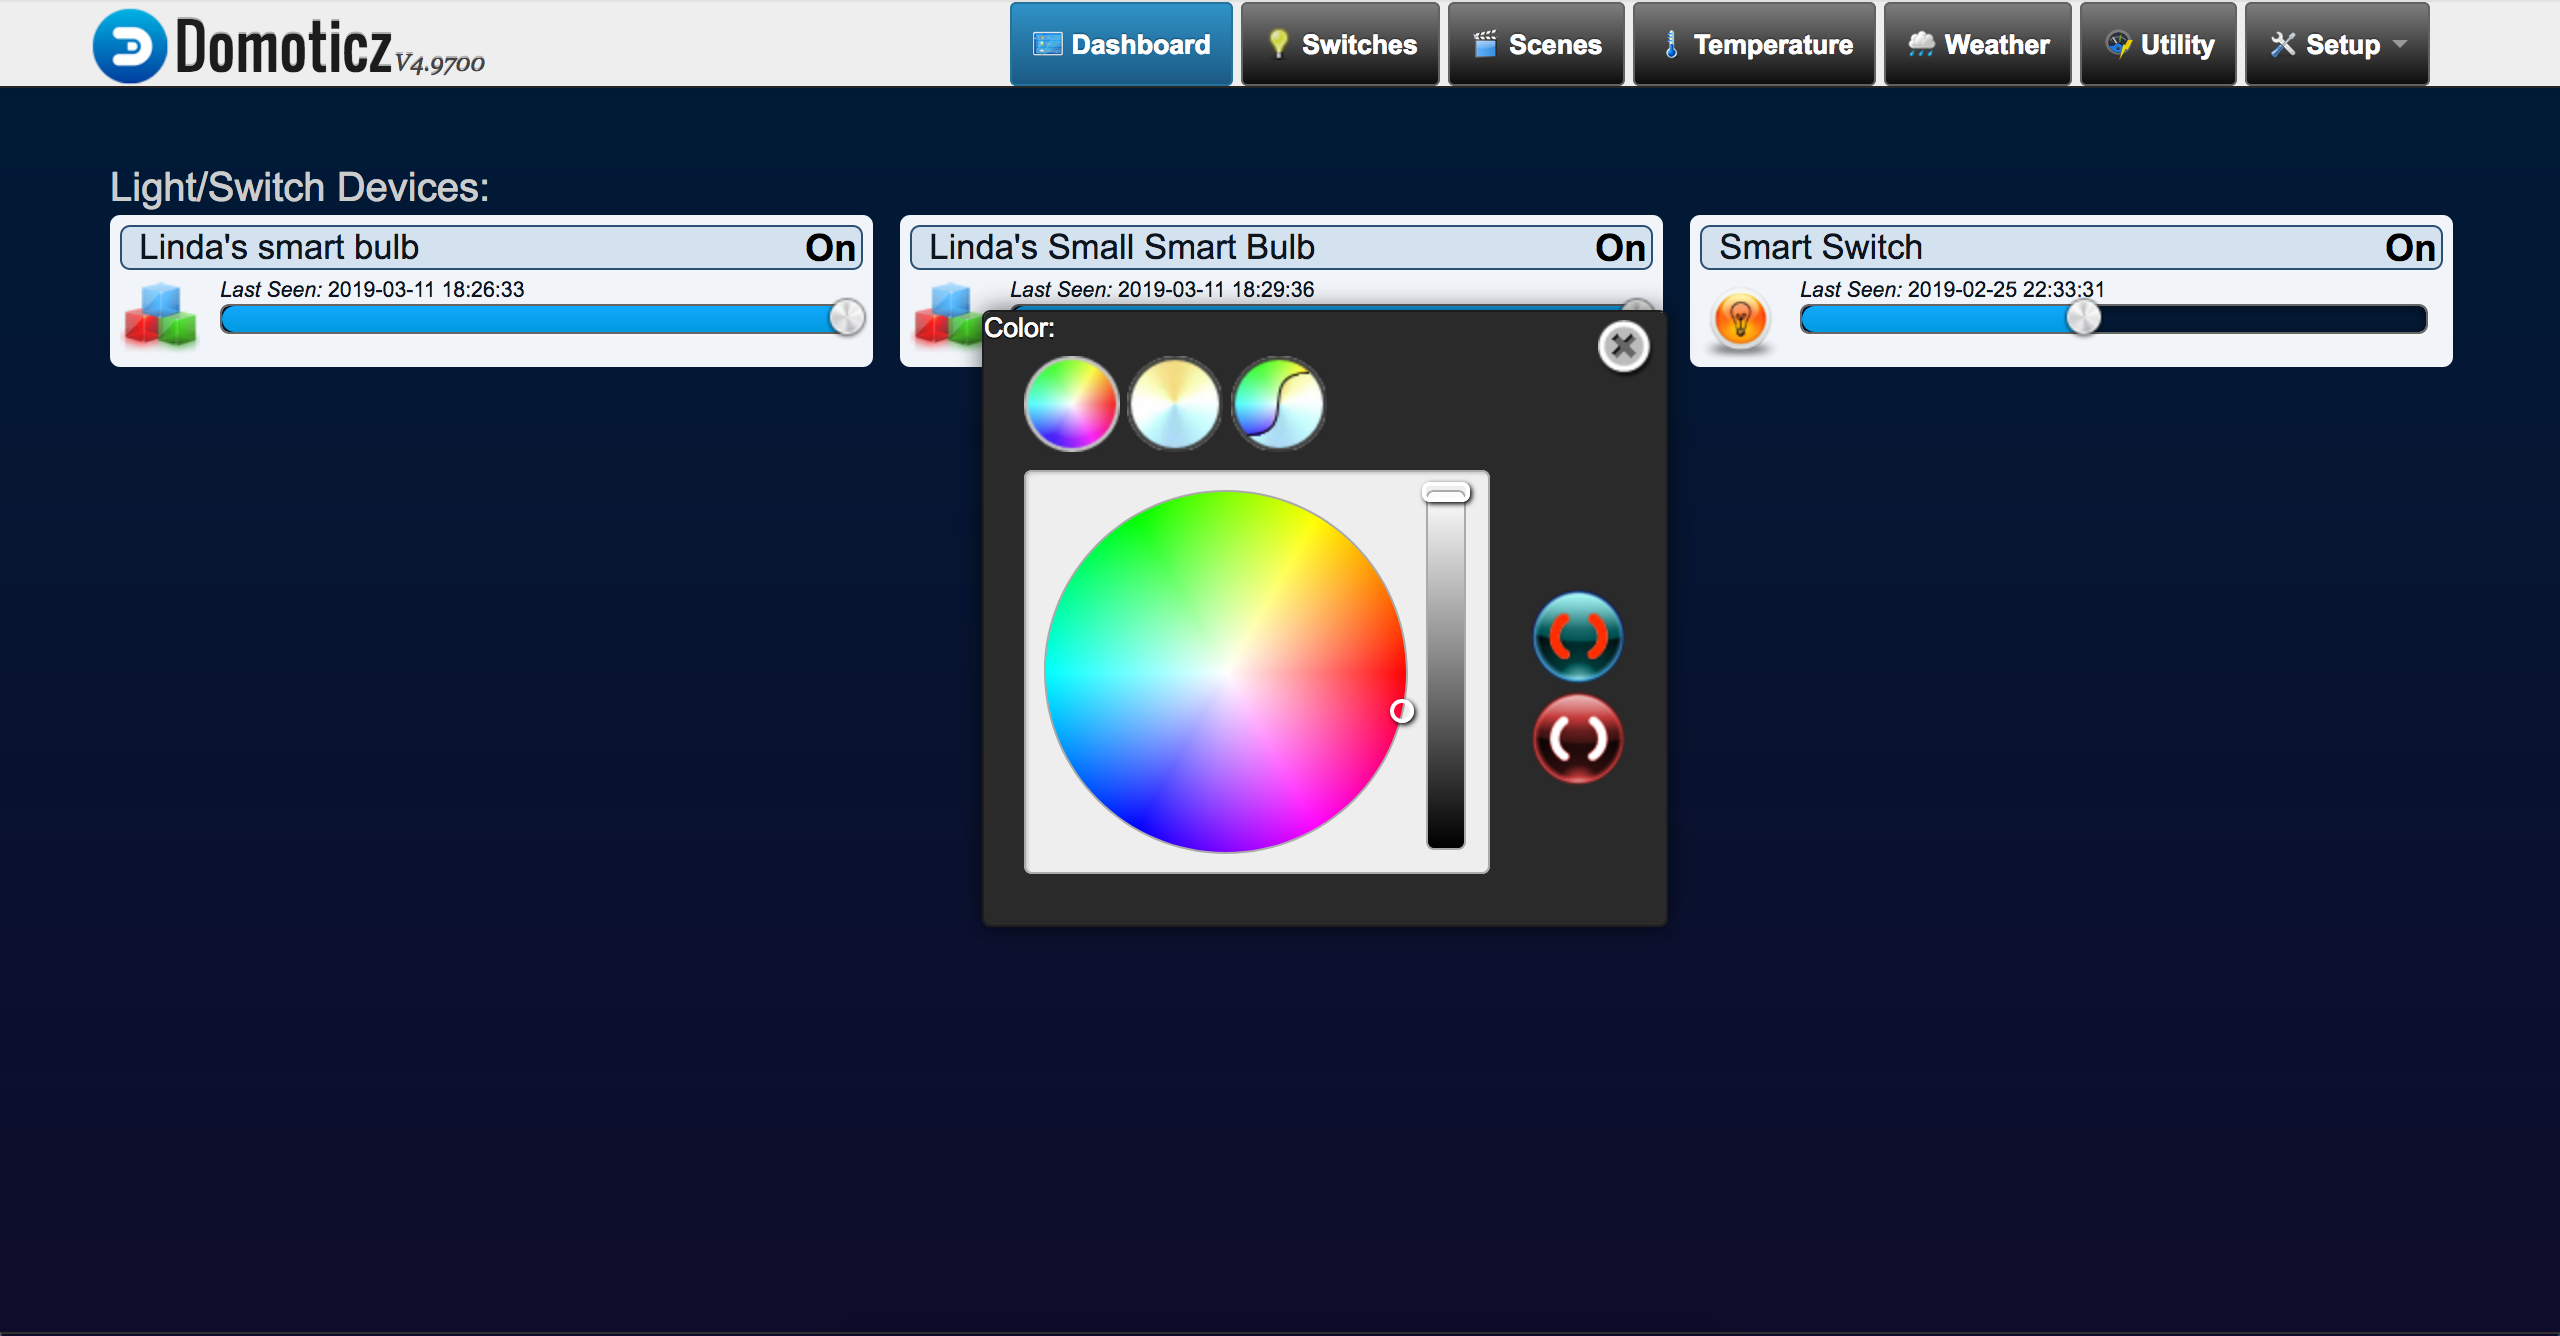
Domoticz is an open source platform designed for controlling a home automation system. Its UI shows the devices present on your network. Running on my RPi’s localhost, it is from here that I switch on my smart bulbs, check my temperature and humidity sensor’s readings, or operate any other sensors.
The first step in initiating your home control system will be to install Domoticz on your Raspberry Pi.
1. Installing Domoticz
In your RPi’s terminal:
curl -L https://install.domoticz.com | bash
cd /home/pi/domoticz/plugins
git clone https://github.com/sasu-drooz/Domoticz-Zigate.git
git branch -a https://github.com/sasu-drooz/Domoticz-Zigate.git
At the time, I was having some difficulty pairing my devices with ZigBee so the documentation on wiki suggested to change to the beta branch to resolve this issue:
git branch -a https://github.com/sasu-drooz/Domoticz-Zigate.git
git checkout beta-3.2
(or whatever the latest branch is)
sudo systemctl restart domoticz.service
2. Navigate to the Domoticz web interface
Domoticz runs on your RPi’s localhost so you will find Domoticz by putting the name of your device (hostname) along with :8080. For me, Domoticz is hosted over on:
3. Configure your ZiGate adaptor to Domoticz
- Go to the Hardware tab
- Select ZiGate from the pull down
- Change the join timeout from 254 to 255 if you want to
- Click the “Add” button
4. Find and pair your device(s)
Each time you want to add a device:
- Reset the bulb or device (e.g. OSRAM bulb: 5s off, on, repeat 5 times)
- Go to the Devices tab
- Refresh if necessary
- You should see the device
- Click the little arrow → this enables the device
- Go to the Switches tab → you should now see controls
Conclusion
I hope this was insightful! I have a fun project planned on the horizon so stay tuned for more IoT updates and tinkering.